Salesin has always valued partnerships – and perhaps one of our longest standing partnerships has been with the MYOB accounting software team. There’s a lot of amazing accounting solutions out there, and we work with several of them, but MYOB has been there through the thick and thin of it for organisations for almost a generation. Whether it’s a company just getting started, just hitting it’s growth phase or in the prime of it’s life – you be hard pressed to find an organisation that hadn’t at least heard of MYOB.
A sales app that connects
One of the best aspects of working with SalesIn is it’s ability to integrate with several accounting and inventory management systems, like MYOB. This creates a seamless sales workflow that starts with your sales reps and ends in your bank account.
What we’ll be covering in this article is how exactly the SalesIn app connects with MYOB – both the classic systems and AccountRight Live – and explain how easy it is to set up and get your sales, customers, items and inventory information moving back and forth between SalesIn and MYOB.
MYOB Classic V19 Integration
MYOB has been around for awhile – and the classic versions of MYOB were not only effective but affordable for many small businesses getting started. We here at SalesIn haven’t forgotten this and have built an Integration Wizard to help you get this organised. Select the link to view the comprehensive how-to-guide for your integration.
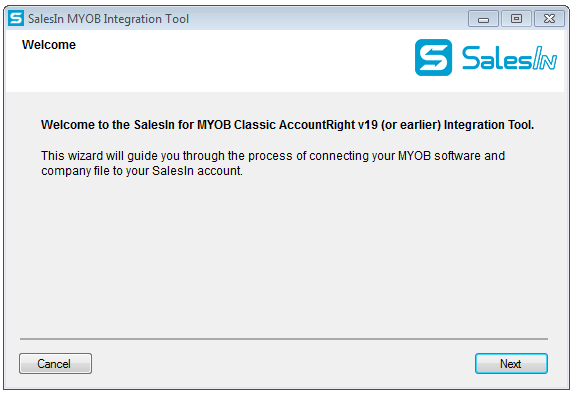
Here we’ll cover the basics though. When you subscribe to SalesIn – you are offered a choice of 3 packages. For any integrations, you’ll need to select the complete package. Then you’ll need to select the MYOB Classic V19 integration, you’ll get prompted automatically to download and install the set up wizard, which looks like this:

The above icon will appear on your desktop, double click the icon to open the integration wizard.

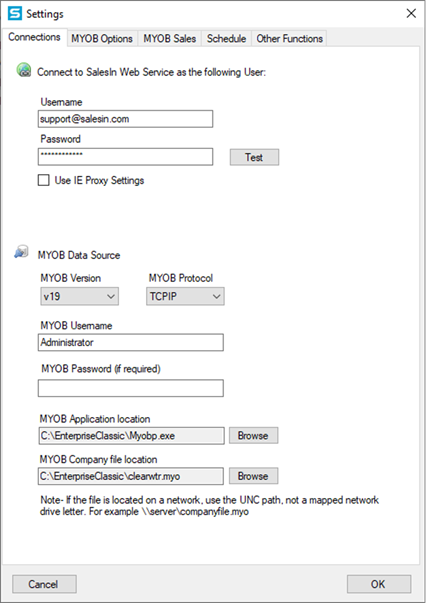
From here you’ll follow a series of installation requirements and preferences that you check out in more detail by clicking here.
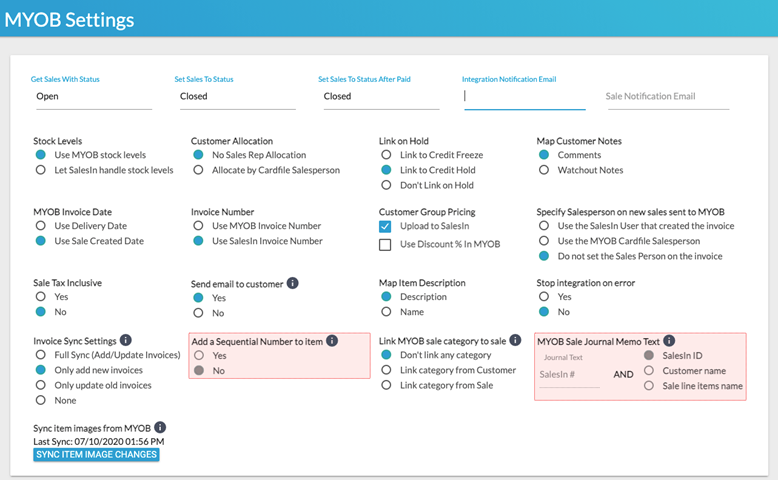
Once this integration is connected – you’ll be prompted to set your integration settings according to what suits your workflows. This will look like such:

For more details on the settings please click here.
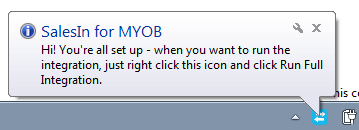
Once you have completed the setup, you can run the SalesIn Integration for the first time to upload your customers and products information to SalesIn from MYOB. To do this, first find the SalesIn Integration icon in the system tray:

Choose the option Run Full Integration and wait as your data is transferred to SalesIn from MYOB.
This may take a while, depending on your Internet connection and the size of your MYOB database.
MYOB AccountRight Live Integration
For those of us who have decided to see what’s available with MYOB’s new accounting software systems – there is AccountRight Live. This integration with SalesIn runs automatically once you have a user sign in for MYOB AccountRight Live. You can customise how you want your integration to run directly off of the SalesIn desktop portal just by selecting the MYOB Integration tab. For more information on this integration please select here.
Otherwise, your page should look like this:

You have complete control on how you want to customise this integration, however if you need any help don’t hesitate to reach out!
Integration is King
In today’s tech world – having the ability to integrate your key systems is integral to running a business successfully. SalesIn and our partners are keen to keep these integrations easy-to-use and familiar for our customers.
Not all of us are technologically inclined (I’m not afraid to admit it) and that’s why we have a team of dedicated support staff here at SalesIn to assist our customers however they need. So don’t be shy, if you have questions about getting your integration up and running – reach out today and we’ll be happy to help!

